
Installing a ceiling fan is an easy way to upgrade the look of your home while improving air circulation. Home Depot carries a wide selection of ceiling fans and their accompanying parts, making it easy to find the right fan for any space. However, installing the parts correctly can be tricky. Here are some tips to ensure that you get your Hampton Bay ceiling fan up and running in no time!
Table of Contents
Safety First
Whenever you’re dealing with electrical wiring, safety should always be your number one priority. Make sure to shut off all power in the room before working on the fan installation and wear rubber-soled shoes when standing on a ladder or stepladder to work on the fan, as this will reduce your risk of electrical shock.
Assemble the Fan Support Bracket
One of the first steps to installing a ceiling fan is assembling and mounting the fan support bracket. This is typically included with Home Depot ceiling fans, but if you’re replacing an existing fan you may need to purchase one separately. Follow the instructions provided by Home Depot very closely in order to ensure that everything is properly secured in place.
Install the Ceiling Box
The next step is installing the ceiling box, which attaches to the joist so that it can safely support your new fan. Again, follow all instructions for proper installation and make sure that it is tightly secured into place before going any further.
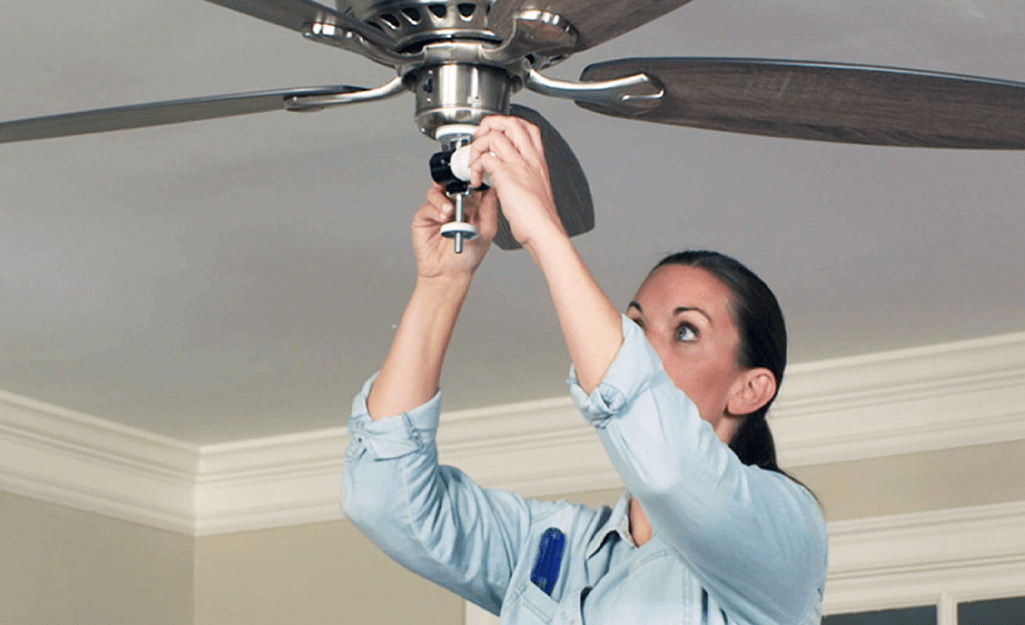
Mount the Fan
Once all of the preparation is taken care of, you’re ready to mount the fan itself. Attach the mounting bracket to the ceiling box according to Home Depot’s instructions and then hang your fan on the mounting plate. Secure it in place and test out its operation before moving on to the wiring.
Wire and Connect
Wiring a ceiling fan is often one of the most complicated parts of installing a new one, so make sure that you read through Home Depot’s instructions carefully before starting this step. Make sure that all wires are properly connected and secured and check for any exposed wiring that could be dangerous. Once everything is connected, you can turn the power back on and test out your new ceiling fan!
Conclusion
Installing a ceiling fan from Home Depot can be a bit intimidating, but with the right preparation and knowledge, it doesn’t have to be difficult. Make sure that you take the necessary safety precautions and follow all instructions provided by Home Depot for a successful installation. With these tips, you’ll be enjoying your new ceiling fan in no time!