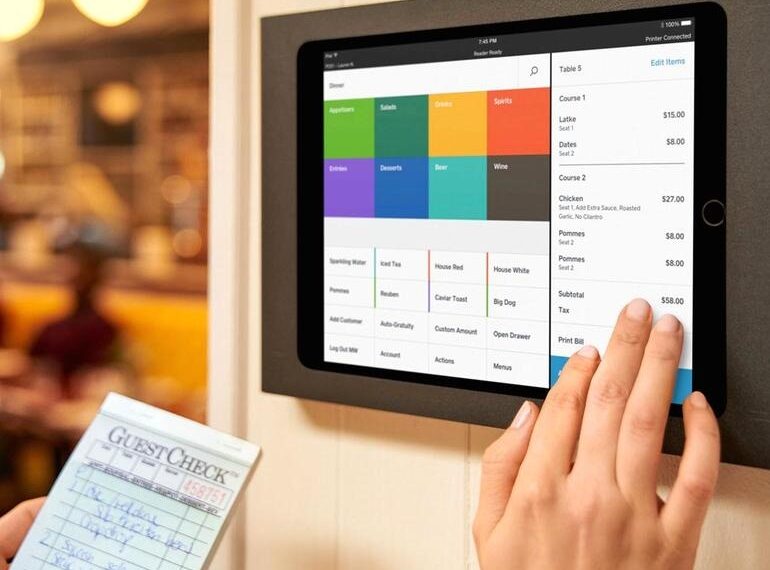
retail stores. The high-end features that a POS software can certainly make it a must-have system in all types of businesses.
Square POS is one of the most popular point-of-sale systems used today. In this post, we will learn about how to set up Square POS system. Before that, let’s first define a POS system.
Table of Contents
What Is A POS?
A POS or point-of-sale system combines hardware and software for more efficient sales processing. This system’s hardware generally incorporates a central computer terminal and one or more POS devices called peripherals.
Peripherals can include card machines, receipt printers, barcode scanners, and more. All of these devices connect to the central computer terminal through cables or wirelessly. POS software is customizable based on how you need it to be(source).
These requirements can include inventory management, stock control, real-time sales management, and other industry-specific needs. You can set these features up in a computer or the cloud so you can analyze and monitor sales across multiple terminals at the same time.
With it, you can understand what, where, when, and how much quantity of a particular product you are selling to your customers. Therefore, a point-of-sale software gives you the power of electronically monitoring the sales process with better accuracy and efficiency.
How To Install A Square POS System
Sign Up For Square Account
Enter Square’s official website, and click the “Get Started” button. Fill up your email address, country name, and create a new password for setting up the account. Tick the box to agree to Square’s privacy policy and other compliances. Click to continue to move to the next screen.
Select The Desired Setup
Square will ask you to choose between a “Quick” setup or a “Full” setup. Choose the former if you want an express or quick way to start accepting payments and orders. Choose the latter if you’re going to use Square’s complete list of products and services. You can always change the preferences later in the Dashboard area.
For this guide, we are showing you the Express setup method.
Enter Business Name
This name appears on the receipts that you give to your customers when they purchase you. You get about 40 characters for entering your business name. Click to continue once you are done with it.
Select Business Type
This screen asks you to choose the type of business you run. Square asks you the business type because it has various templates, allowing you to use certain features related to specific companies. You can use those software options to create pre-rendered receipts, invoices, payrolls, inventories, and more without the need to enter everything manually.
Select Payment Method(s) and Other Features
This section of the setup lets you increase the efficiency of the sales process through various features. These include accepting credit card payments through your phone, notifying customers about the latest offers via messages, selling gift cards, sending invoices, and accepting donations.
Square POS also lets you sell online with pickups and deliveries. Some of these features might not be available in a free Square account. You can always adjust or remove the add-ons that you do not want to use from the dashboard.
Complete Your Verification Details
This step takes you to a screen where you have to enter your KYC details, including name, birthday, address, social security number, and phone number. You do not need to fill your credit card details for verification, which is a good thing.
Choose A Location For Your Business
This screen gives you multiple options for selecting the location of your business. Is there a brick-and-mortar structure from where you operate your business? Or is it present in the virtual world? Square needs to know this to print the business address on the receipts and add it to the transaction formalities.
Select Your Deposit Cycle
This step in the Square POS setup lets you choose the cycle for depositing payments in your bank account. You get two options for it:
- Deposit on the next business day, which is free of charge.
- Deposit on the same day, which is an instant process, but Square charges 1.5% transfer fees.
You can adjust these preferences through the Square Dashboard later after completing the setup. You can also schedule the payments manually on any particular date of your choosing.
Link Square POS To Your Bank Account
Without linking your bank account to your Square account, you cannot withdraw funds. For it, enter the details of the bank account where you want to receive your payments after-sales. Square will verify whether your bank account is operational or not by withdrawing and redepositing a small amount.
This verification process can take at most three business days to complete. Until Square verifies your bank account, it keeps any amount collected from sales in your Square account balance.
Choose Your Add-On Features
This step is in continuation of the add-ons that you chose in one of the previous steps. For instance, if you selected “Sell Online,” you will be asked to choose between four options: checkout links, full site and online store, Instagram shopping page, and single shopping page.
Square lets you choose among these options to create a free online shopping portal for your business. You can always change your selection at any time later. If you are not sure which option to choose, Square can help you in making your decision.
If you choose to take Square’s help, it will ask you questions like if you have an existing website, the number of items you sell, etc. We recommend choosing a single shopping page at the beginning. You can always decide to expand that page later.
Start Using Square POS Today
With a capable POS system, you have the power to monitor, analyze, and control the complete sales process in real-time. Sign up at Square POS for helping your business grow with better efficiency and productivity.

