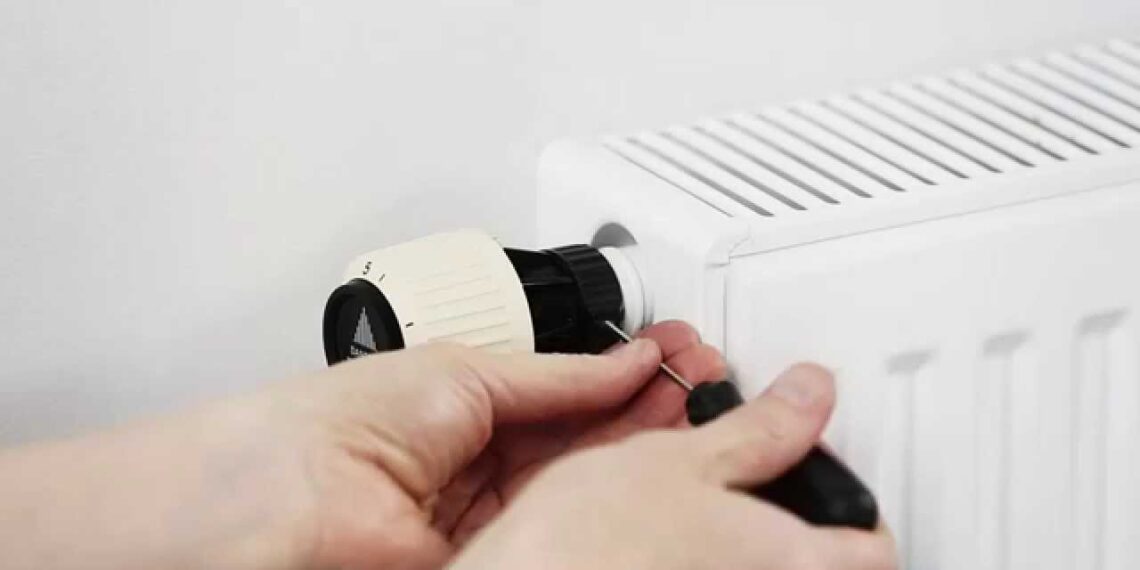
Radiator valves can begin to become a bit outdated and inefficient over time, with some becoming faulty or starting to leak. If you’re noticing issues, it might be time to replace your radiator valve head. You may also want to be replacing an old manual valve with a new thermostatic radiator valve. Regardless of the reason behind the change, you’re going to want to know the exact process behind removing an old valve and replacing it with a new one in an efficient manner. This article will be your guide on how to remove a Danfoss thermostatic radiator valve head, making sure you’re well equipped to handle the job.
Table of Contents
How does a thermostatic radiator valve work?
The thermostatic radiator valve is made up of two core components. The valve itself, and the thermostat. The total distance between the valve cone and the valve seat determines the amount of water that is flowing through the valve and to the radiator. The thermostat operates the valve cone, sensing any specific change in the room’s temperature. The gas-filled actuator located in the thermostat allows this to happen.
Actuators are able to react extremely fast and result in a greater saving in energy when they are filled with gas rather than liquid. When you’re wanting to select a certain temperature for the room, you simply have to turn the handle until you reach the ideal temperature at the green reference point.
A thermostatic radiator valve contains a temperature sensor, which turns off the heating levels when the desired temperature is met, and it turns it back on if there is a fluctuation in temperature. This gives you a much more accurate and consistent temperature level in the room. A thermostatic valve can save you a great deal of money each year if you’re moving from a manual one where it can chew into your heating bills.
How to remove a radiator valve head
Depending on your current setup, you may need to grab a number of different tools, including an adjustable spanner, a hose, an Allen key, a towel and potentially some thread seal tape which helps to stop leaks from the radiator. Once you’ve got your parts, you can get to work. Please note that if you aren’t comfortable at any stage in the process, you should get in contact with a licensed professional who can undertake the necessary work for you.
- Turn off your water supply and the heating system
Make sure that you’ve turned down all the thermostats in different rooms and ensure that the system won’t be starting up as you’re working in it. Electronically turning everything off is important as well.
- Find the drain off point
You can connect the hose to the drain off point and place the other end of the hose in a suitable place outside. From here you can open up the drain cock, and let it drain. When it’s completely empty, you are now set to remove the radiator valve.
- Remove the radiator valve
Unscrew the top nut of the radiator valve, before unscrewing the bottom one. You should be able to take the valve off completely here. In some instances, you may need the wrench to hold the body in place. Don’t forget to place your towel underneath the unit to make sure you’re catching any water that’s dropping.
Using an Allen key, remove the chrome tail connecting the valve to the radiator. After this, you might want to do a little cleaning in the area, in case you’ve leaked some water.
- Installing the new radiator valve
In the area where you removed the old chrome radiator tail, install the new one, making sure to use your thread seal tape if you want to avoid the potential of leaks. Place the nut and ring onto the radiator tail. Find the water pipe and slide on the nut and attach the ring. Connect the new radiator valve body to the water pipe, making sure to line it up and insert it into that radiator tail.
Once in place, you can tighten up on the tail nut and then the one on the bottom of the water pipe. Once these are tightened, you can take off the protective cap from the valve body. You can now connect the top of the valve into the valve body. After tightening up the nut a bit, you’re good to turn the water back on!
- Turning the water back on
After closing the radiator valves as well as the bleed valve, you need to turn off the lockshield. Take note of how many times you turn it as you’ll need to make the same amount when you open it back up. From here, you can then turn the water back on. As the system is refilling, pay careful attention to whether the new parts are leaking by opening up the new radiator valve.
- Bleed radiator
Once you’ve turned the water back on and are happy with the new parts, open up the bleed valve on the radiator to let out any trapped air in the radiator. Open up the lockshield valve, and the water should be able to flow again.
Connect the power back to the hot water system to get it up and running again. Once it’s been running for about an hour or so, check the radiator again to see that everything is in solid working condition.
Danfoss Distributors
No matter if you’re looking for a simple thermostatic radiator valve or Danfoss hydraulic motor distributors, make sure that you are sourcing your components from a reputable provider. Many distributors can also assist with the servicing, testing and reconditioning of products. So if you are stuck on trying to work on these products yourself or if you think this type of job is beyond your capabilities, don’t hesitate to enlist the help of a licensed professional.

