SPF stands for “Sender Policy Framework,” and it is simply a list of IP addresses or services that you have allowed to send an email on behalf of your domain. It is published in the form of a DNS TXT record. That is to say, SPF is an email authentication mechanism to stop phishing emails.
Does your domain have a valid SPF record? Use the SPF record check to find out.
SPF record creation is a simple operation. In most cases, to establish basic protection, it is enough to write one line in the DNS of the domain. But there are also many pitfalls here. SPF works at the domain level and is not propagated to subdomains. This means that you need to create your own SPF record for each level.
In domain verification, SPF focuses exclusively on the “FROM” field, so it works in conjunction with DKIM and DMARC, which set the search parameters for a fraudster not only in the “Sender” field but also in the message text.
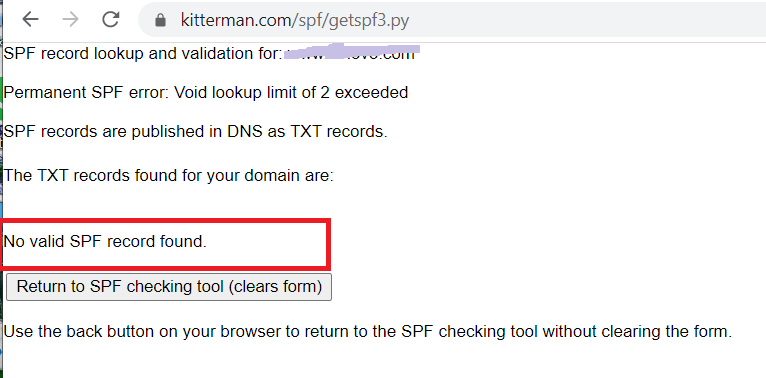
The process of setting up an SPF record takes place on the provider’s website and consists of a few stages. The last one is to check the SPF functionality and correctness. It can be carried out on one of the special services: EasyDMARC is the best tool for that.
You can set up an SPF record for your domain yourself in a few minutes and provide powerful protection for the sender’s reputation. However, SPF alone cannot completely protect a domain from phishing and spoofing. Full protection requires the action of three magicians: SPF, DMARC and DKIM. If at least one of them is not configured, then a gap is created in the protection of the sending domain, through which spoofers can replace information about the sender. As a result, your clients receive spam or a virus on your behalf. To avoid such a situation, deploy email authentication with a strong DMARC policy.
Attackers can send email messages from email addresses allegedly created on your domain. For example, from the address [email protected], although you may not have such an address at all. This will undermine your reputation as a good sender, and your domain may be blacklisted by mail services.
To protect against this, configure an SPF record, it will show recipients’ mail servers which messages were sent from your servers. And all other people’s messages, supposedly from your addresses will be considered fake.
Table of Contents
How to create an SPF record?
For example, if you use several services, e.g. Google apps, ZenDesk or an in-house e-mail server to send emails from your domain, then the SPF record will look like:
v=spf1 ip4:185.7.214.251/32 include: mail.zendesk.com include:_spf.google.com -all
Let’s go into details:
v=spf1 is the version of the protocol;
ip4:185.7.214.251/32 is the IP address of your server;
include: mail.zendesk.com include:_spf.google.com part defines the services that you use to
send e-mails;
-all is the published SPF policy.
To simplify SPF record creation you can use any free SPF record generator. EasyDMARC’s SPF Record generator is particularly made to make the process easy and fast.
Setting up the SPF record
There are 3 easy steps to set up an SPF record:
- Create an SPF record that fits your needs;
- Publish the SPF TXT record into your DNS configuration;
- And finally, after DNS propagation, run the SPF record lookup tool to be sure that SPF lookup has no failures.
That’s all!

