
Connect home studio? One thing is to buy the audio interface, music software, a microphone, and musical instruments. Another way of being able to connect the home studio straight away. So that you can orient yourself better, you will receive waterproof instructions in this article. Find out how to set up your hardware and software for your home studio monitor so that you can get started right away – step by step
Table of Contents
Obtain the correct driver
In order to be able to use your audio interface on your computer, you usually have to download and install a driver that makes the device functional.
The best way is usually to look for the latest driver version for download on the manufacturer’s website, even if a driver is supplied on a CD or other data storage medium. Newer versions are usually free of program errors and often offer new functions or performance improvements for the best home studio monitors.
Different drivers depending on version & bit architecture
You may need to know the version of your operating system and whether it is 32-bit or 64-bit. Often a minimum version of the operating system is required, without which the audio interface will not work (correctly).
So you should invest a few euros for the update if necessary – now also with Windows 7.

Audio driver for Windows
Under Windows 10: Start menu → Settings (cogwheel symbol) → System → Info… Under »Device specification« on the line »System type« you can see whether you need 32 or 64 bit.
Under Windows 7: Start menu → Control Panel → System… In the »System« chapter you can see under »System type« whether you need the driver version for 32 or 64 bit.
Audio driver for Mac OS
If you are using an Apple operating system, click the Apple logo in the top left corner, and then click on “About this Mac“. In the window that appears, the exact version name is directly below the bold text »Mac OS X«, for example »10.14.2«.
Now you can click on »Further Information« and then finally on »Software«. In the list you will find an item called “64-bit kernel and extensions“. If it says “Yes”, you can use 64-bit driver versions for your audio interface if they can be downloaded separately.
Install the sound card driver
Install the sound card driver before you wire the audio interface to the audio computer. Most of the time, it works in reverse order, but the manufacturers recommend the process mentioned for a trouble-free setup.
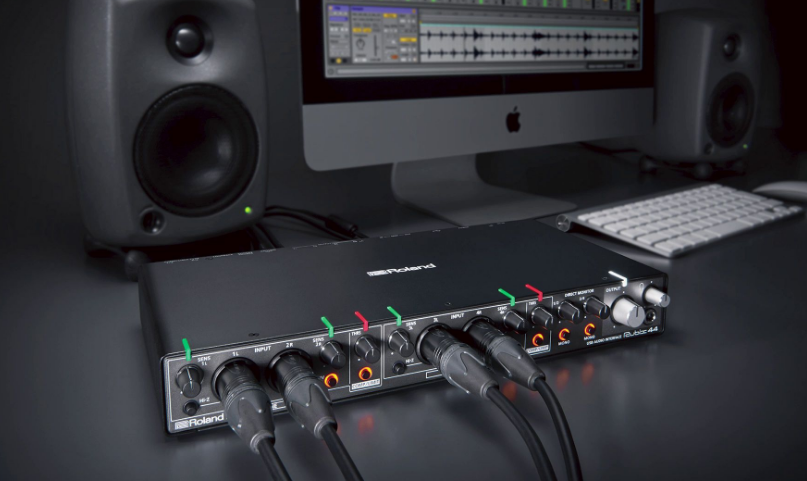
Connect the audio interface
Most models come with a suitable cable. If you have to buy one first, you don’t need to go for the most expensive model. A conventional cable does its job perfectly.
If the audio interface does not work as expected, try to change the USB socket used for the connection. This often helps to get any problems out of the way.
Otherwise, you may need newer Windows drivers for your computer’s USB 3.0 ports. These are sometimes ignored by the Windows update system, so you have to get them directly from the manufacturer of the USB sockets.
Connect a USB audio interface to a hub?
It is generally recommended not to use a USB hub. These are these small additional devices that serve as distributors to expand the range of USB interfaces. It is better to use a USB port directly on the audio computer. These are usually more reliable, which can be important especially with the often rather bitchy audio interface drivers.
If you use a USB hub must, it should be at least one model with its own power cord.
Set up the driver in the music software
After the driver has been properly installed, you have to set it in your music program. The easiest way is to look for “driver” or “driver” in the manual for your software to get to the corresponding configuration dialog.
Windows
In the driver configuration you may have to select the interface first – the type of driver. For the best performance, you should definitely set the »ASIO« category here.
Sometimes there is just a single list that shows all the drivers for all interfaces (that are supported by the DAW) at once – like in Studio One.
If a proprietary ASIO driver was set up during installation (see above), you will usually find it under the designation »[name of the audio interface] ASIO«, »[name of the device series] ASIO« or »[name of the manufacturer] ASIO.
macOS
Under macOS, your audio interface works either straight away or after installing a driver from the manufacturer. You don’t need to worry about different interfaces here – the operating systems own »Core Audio« is ideal.
In this respect, Macs are still much easier to maintain than Windows systems, no question about it.
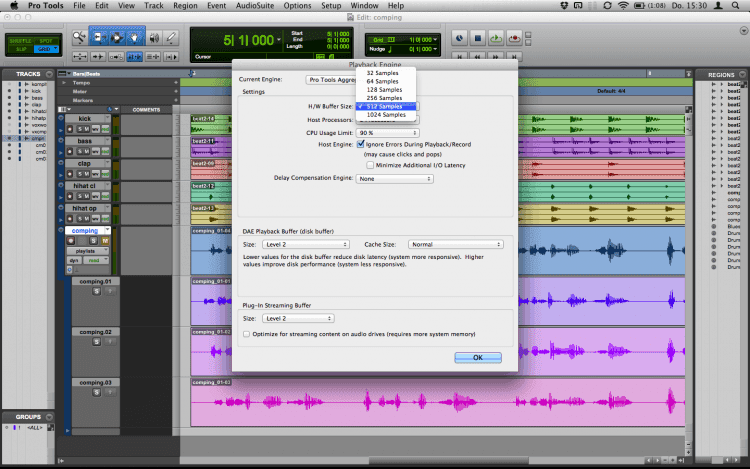
Optimize the audio driver
After choosing the driver, you can adjust the so-called “buffer” in the driver settings. You can use this value to set the latency, i.e. the time delay in the response time of your audio interface. The less delay, the better at producing music, the greater the CPU load. Up to a latency of around 10 milliseconds, everything should stay within limits; longer delays will then be more noticeable.
Start with the lowest buffer and listen to see if there are dropouts in the sound or other background noises while you are playing your project in the DAW software. If this is the case, the buffer should be chosen higher. Until the undesired side effects can no longer be heard.