Tilling has been the default approach to soil preparation for most of agricultural history. Break up the ground, incorporate amendments, create a loose seedbed, plant. It makes intuitive sense. The problem is that it also destroys much of what makes soil productive.
Soil is not an inert growing medium. It is a living ecosystem. A single tablespoon of healthy garden soil contains more microorganisms than there are people on earth, according to USDA Natural Resources Conservation Service soil health research. These organisms, bacteria, fungi, nematodes, protozoa, and earthworms, exist in a web of relationships that build soil structure, cycle nutrients, suppress pathogens, and make food available to plant roots in forms they can absorb.
Every time you till, you disrupt that web. You break fungal networks that took years to establish. You kill earthworms. You expose soil to oxidation that burns off organic matter. And you bring dormant weed seeds from lower layers up to the surface where they germinate. Then you till again next season and repeat the damage.
No-till gardening stops that cycle. It builds from the top down instead of from the bottom up, adding organic matter to the surface and letting soil organisms incorporate it naturally. The result is soil that improves every year rather than degrading every season.
Table of Contents
How No-Till Works
The core principle is straightforward: add organic matter to the soil surface, disturb the soil as little as possible, and let the biology do the work of incorporation and nutrient cycling that tillage was doing mechanically.
In practice this means:
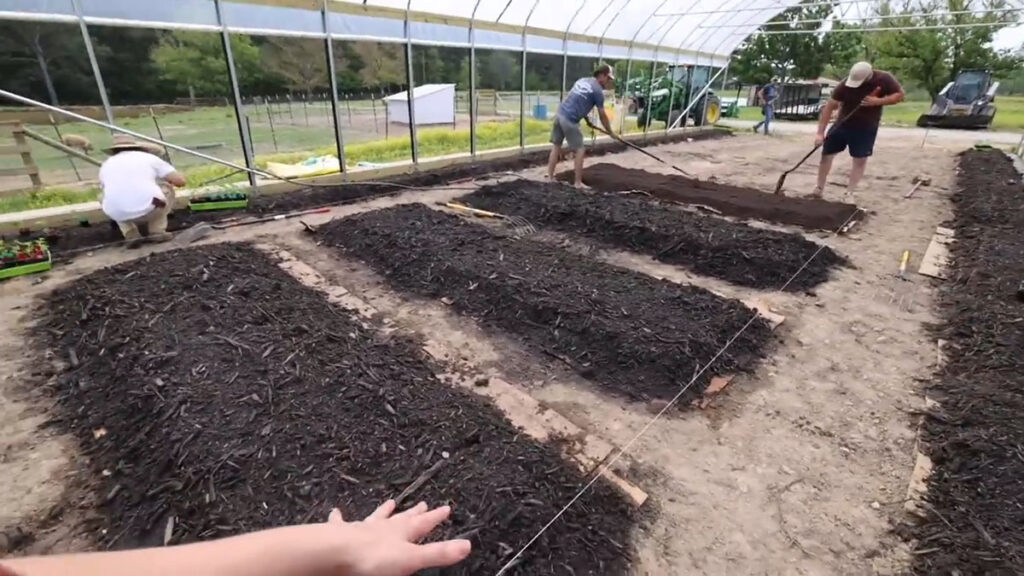
• Covering bare soil with mulch at all times. Bare soil loses moisture, erodes, and degrades rapidly. A 2 to 4 inch layer of wood chips, straw, compost, or other organic material protects the surface and feeds the soil as it breaks down
• Planting into the mulch layer rather than removing it. Pull mulch aside to create a planting hole, set the transplant or seed, and pull the mulch back around the stem
• Cutting rather than pulling spent plants. Pulling plants removes roots and disturbs the soil. Cutting at soil level leaves the root system to decompose in place, feeding microorganisms and leaving channels that improve drainage and aeration
• Adding compost to the surface each season rather than digging it in. Earthworms and other soil organisms will incorporate it over time
Starting a No-Till Bed: The Sheet Mulching Method
The easiest way to establish a no-till garden bed, particularly in an area that currently has grass or weeds, is sheet mulching, sometimes called the lasagna method.
1. Mow or cut down existing vegetation as short as possible. Do not remove it
2. Water the area thoroughly if the soil is dry
3. Cover the entire area with overlapping layers of cardboard or at least six layers of newspaper. This is your weed-suppression layer. Wet it down thoroughly so it lies flat and begins breaking down immediately. Overlap edges by at least 6 inches to prevent weeds from finding gaps
4. Add a 4 to 6 inch layer of compost or a mix of green (nitrogen-rich) and brown (carbon-rich) organic materials on top of the cardboard. Green materials include fresh grass clippings, kitchen scraps, and fresh plant trimmings. Brown materials include dry leaves, straw, wood chips, and cardboard itself
5. Top with a 2 to 3 inch layer of finished compost or aged manure. This is your planting medium
6. Water thoroughly and allow to settle for at least two weeks before planting. In an ideal scenario, build the bed in fall and plant in spring, giving the layers time to begin breaking down and the cardboard time to kill the underlying vegetation completely
This method is particularly effective for converting lawn into garden space, which is one of the primary use cases for anyone expanding a growing area. It works equally well for establishing new setups on top of poor or compacted native soil, since the layered organic matter creates a growing environment above whatever the existing soil conditions are.
Managing Weeds Without Tilling
The common assumption is that no-till means more weeds. In the first season, this can be true if the bed is not properly mulched. After that, no-till gardens typically have significantly fewer weed problems than tilled beds, for a simple reason: you stop bringing new weed seeds to the surface.
The management approach:
• Keep mulch at 3 to 4 inches deep at all times. Most weed seeds cannot germinate through a proper mulch layer, and those that do are easy to pull from loose surface mulch with shallow roots
• Pull weeds before they set seed. One missed plant that goes to seed creates thousands of future problems
• Use tarps or silage plastic over empty beds between plantings to smother weeds without tilling. This is called occultation and is a standard practice in commercial no-till market gardening
• Understand that perennial weeds with deep root systems, such as bindweed, thistle, and dock, require persistent surface management for at least two to three seasons before they exhaust their root reserves. There is no quick fix for established perennial weeds in a no-till system
Soil Amendment in a No-Till System
In a tilled system, amendments are incorporated mechanically by turning them into the soil. In a no-till system, everything goes on the surface and organisms move it down. This works well for most amendments but requires some adjustment in approach.
• Compost: Apply 1 to 2 inches to the surface at the beginning and end of each growing season. It will be largely incorporated within one to two months under active soil conditions
• Lime or sulfur (for pH adjustment): Broadcast on the surface and let rainfall move it down gradually. This is slower than incorporation by tillage but effective over one to two seasons
• Mineral amendments like rock phosphate, kelp meal, or greensand: Apply to the surface and top with compost. They will break down and become available over time
• Liquid fertilizers: Apply directly to the soil surface or as a foliar spray. They penetrate the mulch layer and reach roots quickly
According to research from the Rodale Institute, no-till organic systems that rely on surface compost applications consistently build organic matter levels over time, while tilled systems, even those with regular amendment additions, often see organic matter levels remain flat or decline due to oxidation losses from tillage.
Tools for No-Till Gardening
No-till does not mean no tools. It means different tools used differently.
• Broadfork: A two-handled, multi-tined fork that aerates soil by lifting and cracking it without inverting or mixing layers. Use it to break compaction in new beds without destroying soil structure
• Collinear hoe: A sharp, flat-bladed hoe designed to skim just below the soil surface, cutting weed stems without disturbing soil more than an inch deep. The standard tool for weed management in no-till systems
• Stirrup or hula hoe: Cuts on both the push and pull stroke; effective for surface weeding in larger beds
• Dibber or transplanting trowel: For making planting holes through mulch without removing it
• Tarps: Heavy silage tarps (6 mil or heavier) for occultation between crops
No-Till in Raised Beds vs. In-Ground
No-till principles apply equally to raised beds and in-ground growing, but the implementation differs slightly. In-ground no-till requires more attention to compaction management because foot traffic can compress soil over time. Permanent pathways between beds, covered with wood chips or gravel, concentrate foot traffic and protect growing areas from compaction.
Raised beds, because they are never walked on, naturally develop excellent structure over time in a no-till system. The combination of permanent raised bed structure with no-till management is one of the most productive small-scale growing configurations available. For anyone starting or improving a raised bed setup, understanding no-till principles from the beginning saves years of soil remediation work later. The complete approach to building and managing raised bed gardening covers how to integrate soil management practices from the initial build so that the system gets easier, not harder, over time.
When No-Till Is Not Appropriate
No-till is the right long-term approach for most growing situations, but there are scenarios where some tillage makes sense:
• Breaking ground on a new area with heavy clay subsoil that has never been cultivated: a single initial tillage to break compaction, followed by permanent no-till management, is a reasonable approach
• Incorporating deeply rooted perennial weeds in the first season before establishing no-till management
• Root crops like carrots, parsnips, and potatoes do best in loose, deeply worked soil. Many no-till growers maintain one or two tilled beds specifically for root crops while keeping the rest of the garden no-till
Final Thoughts
No-till gardening requires a shift in how you think about soil. Instead of treating it as a medium to be mechanically managed, you treat it as a living system to be fed and protected. The transition from tilled to no-till can feel counterintuitive in the first season. By the third season, you will have noticeably better soil, fewer weeds, less work, and better yields than you started with.
The soil does the work. Your job is to feed it and stay out of its way.